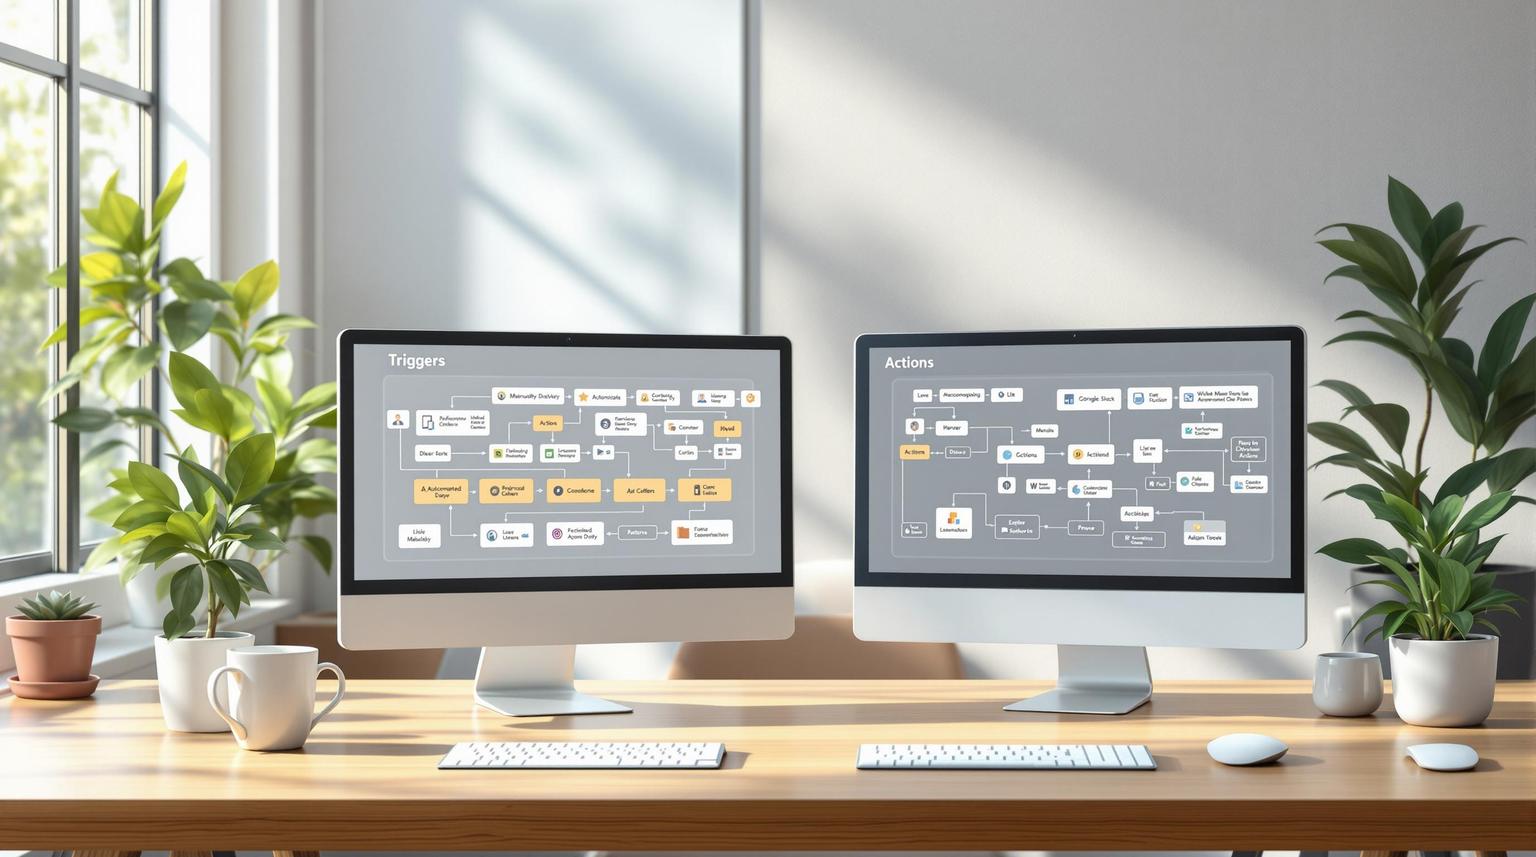
Trigger-based logic automates workflows by detecting specific events or conditions, making tasks faster and error-free. Here's what you need to know:
- What It Does: Automates tasks like sending emails, updating CRM records, and notifying teams based on triggers (e.g., "Form Submitted" or "Email Clicked").
- Why It’s Useful: Saves time, reduces errors, improves customer experience, and scales easily as businesses grow.
- Who Benefits: Agency owners, marketers, and small-to-medium businesses managing multiple clients or campaigns.
- How It Works: Combines triggers with conditional logic (if/else branches) to create personalized workflows tailored to user actions.
Quick Example
A lead clicks a promo email link → Workflow sends a booking link → Sales team gets notified. This ensures instant, relevant follow-ups.
HighLevel supports various triggers, such as:
- Contact Events: New contact added, tagged, or updated.
- Event-Based: Form submissions, email clicks, or link triggers.
- Appointments: Booking confirmations or status changes.
- Payments: Invoice generation or payment received.
Benefits at a Glance
- Efficiency: Automates repetitive tasks.
- Accuracy: Reduces manual errors.
- Cost Savings: Cuts down on resources.
- Scalability: Handles growing workloads seamlessly.
To get started, identify key events to trigger workflows, refine with filters, and test thoroughly. For advanced tips, HighLevel’s HL Max resources provide guides and expert advice to help you optimize and scale your automations.
High-Level Workflow Builder: If/Else Conditional Event Simplifies Automation | BridgetBartlett.com

How Workflow Triggers and Conditional Logic Work
Let’s dive deeper into how triggers and conditional logic operate within workflows, building on the earlier introduction to trigger-based logic.
What Are Workflow Triggers?
Workflow triggers are the starting point for any HighLevel workflow. They activate instantly when a specific event occurs, setting the entire workflow into motion. Think of them as the "on switch" that defines when your automation begins.
Once a trigger is activated, the workflow executes tasks in the exact order you've mapped out. This ensures each step happens at the right moment without requiring manual input. For example, imagine a visitor submits a contact form on your website. The "Form Submitted" trigger kicks off your lead nurturing workflow. Within seconds, the system sends a welcome email, adds the new contact to your CRM, and assigns follow-up tasks to your sales team. It’s all about precision and speed.
How Conditional Logic Works in Workflows
Conditional logic takes workflows a step further by adding decision-making capabilities. Using if/else branches, workflows can adapt based on specific criteria, creating personalized paths for your contacts.
Here’s how it works: After a trigger initiates a workflow, an if/else branch evaluates whether a contact meets the set conditions. If the condition is true, the contact follows one path; if false, they take an alternate route. This flexibility allows you to tailor the experience for each contact.
For instance, say you send out a promotional email. Your workflow includes an if/else condition to check if recipients opened the email. Those who opened it receive a thank-you email, while those who didn’t get a follow-up resend with a revised subject line.
To make this process seamless, consider adding a wait step before the if/else action. This gives recipients enough time to engage before their actions are evaluated. Also, name your conditions clearly, like a question, and label each branch to reflect the next steps. This approach keeps your workflow organized and easy to manage.
Next, let’s explore the types of triggers HighLevel offers and how to choose the right one for your needs.
Types of Triggers in HighLevel
HighLevel provides a wide range of triggers, grouped into categories to help you find the perfect match for your workflows. Each trigger can also be fine-tuned with filters to specify exactly when it should activate.
- Contact-Based Triggers: These are tied to changes in contact data, such as "Contact Created", "Contact Tag", or birthdays. They’re ideal for workflows like onboarding sequences that guide new contacts through automated emails and tasks.
- Event-Based Triggers: These are linked to specific interactions, like "Form Submitted", "Email Events", or "Trigger Links Clicked." These work well for lead nurturing campaigns, where automated follow-ups keep leads engaged.
- Appointment-Based Triggers: These triggers handle scheduling-related workflows, such as "Appointment Status" or "Customer Booked Appointment." They’re perfect for sending reminders or confirmations for upcoming meetings.
HighLevel also supports triggers for payment actions (e.g., "Payment Received", "Invoice Generated"), sales opportunities (e.g., "Pipeline Stage Changed", "Opportunity Created"), social media interactions (e.g., Facebook or Instagram comments), and Shopify events (e.g., "Abandoned Cart", "Order Placed").
Here’s a quick summary of common trigger categories:
| Trigger Category | Best Use Cases | Popular Examples |
|---|---|---|
| Contact Events | Welcome sequences, task management | Contact Created, Contact Tag |
| Event-Based | Lead nurturing, engagement tracking | Form Submitted, Email Events |
| Appointments | Scheduling automation, reminders | Appointment Status, Customer Booked |
| Payments | Purchase confirmations, billing | Payment Received, Invoice |
| Opportunities | Sales pipeline tracking, deals | Pipeline Stage Changed, Opportunity |
To select the right trigger, start by identifying the event that should initiate your workflow. Then, refine it with filters to ensure your automation targets the right contacts at the right time. This way, your workflows stay efficient and effective.
How to Set Up Trigger-Based Conditional Logic
Now that you’re familiar with the different types of triggers, let’s dive into the process of setting up trigger-based conditional logic. Creating these workflows requires thoughtful planning and precise execution to ensure everything runs as intended.
Selecting and Setting Up Triggers
The first step is choosing the right trigger to kick off your automation and define which contacts will enter the workflow.
In HighLevel, start by clicking Add New Trigger in the workflow builder. You’ll see a categorized list of triggers to choose from. Pick the one that aligns with your starting event - like "Contact Added" or "Appointment Booked" - and configure it with the necessary settings.
To refine your automation, always add a filter after selecting a trigger. Filters let you narrow down what activates the workflow by adding specific conditions. For instance, if your trigger is "Contact Created", you could filter for contacts with a particular tag or those from a specific lead source.
If you need to accommodate multiple starting points, HighLevel allows you to set up multiple triggers within a single workflow. For example, if you’re building a workflow to add contacts to a Facebook audience, you could use triggers like form submissions, survey completions, tag additions, or appointment bookings - all feeding into the same path.
For clarity, label each trigger descriptively (e.g., "New Lead – Contact Form Submission"). This is especially helpful when multiple team members are managing workflows, ensuring everyone understands the logic at a glance.
Once your triggers are in place, you’re ready to define decision points using conditional logic.
Adding Conditions with If/Else Branches
With your triggers configured, it’s time to add conditional logic to make your workflows dynamic and personalized. If/Else branches allow you to route contacts based on specific criteria.
When a contact reaches an If/Else branch, the system evaluates whether the condition is true or false, directing the contact down the appropriate path. To set this up, select the field, operator, and value from the dropdown menus. You can combine multiple conditions using AND/OR logic - AND requires all conditions to be true, while OR works if any one condition is true.
Timing is crucial here. Add a wait step before an If/Else action to give contacts enough time to complete the action being evaluated. Configure the wait step to "Wait for event OR timeout" to prevent contacts from getting stuck in the workflow.
Don’t forget to account for contacts who don’t meet any of the conditions. Use the "None" branch to handle these cases, ensuring fallback actions keep them engaged.
HighLevel also provides prebuilt recipes for common If/Else branches, which can save setup time. For more control, you can create custom conditions and visually reorder branches to organize your workflow logically, especially for complex scenarios.
Best Practices for Complex Workflows
After configuring triggers and conditions, focus on optimizing your workflow design.
Start by sketching out your workflows. Mapping out contact paths visually can help you identify potential issues and streamline the logic before building it in the platform.
For more manageable workflows, break down complex processes into smaller, separate workflows. This makes troubleshooting easier and helps team members quickly understand each workflow’s purpose. Aim to keep workflows concise enough to fit on one screen for better visual clarity.
Keep your rules straightforward. Avoid overly complicated nested AND/OR logic, and use clear, descriptive field names to maintain organization as your workflows grow. Also, steer clear of loops that can lead to confusion or duplicate communications.
Test each rule thoroughly in Preview mode. Check every step to ensure it performs as expected. Testing incrementally makes it easier to resolve any issues along the way.
Regularly monitor your workflows and adjust them based on performance data. Metrics like completion rates and drop-off points can reveal areas for improvement. Experiment with A/B testing to refine elements like subject lines, timing, or conditions to boost effectiveness.
If you’re new to workflow automation, start small and build confidence before tackling more complex setups. Begin with high-impact tasks like lead follow-ups or appointment reminders, then expand to broader nurture campaigns as you grow more comfortable with the platform.
For advanced users, HighLevel’s Advanced Filters and Smart Lists can simplify managing multiple workflows. These tools let you filter, organize, and save custom views, making it easier to oversee large-scale automation projects.
The ultimate goal is to create seamless automation that guides prospects through your sales process while delivering personalized experiences that drive results.
Common Use Cases for Trigger-Based Conditional Logic
Trigger-based workflows can solve various business challenges by automating processes and creating smoother customer experiences. Let’s dive into some practical applications where triggers combined with conditional logic can make a big impact.
Automating Lead Follow-Up
Automating lead follow-up ensures quick, personalized engagement with potential customers. By responding immediately to lead interactions, businesses can make a lasting first impression.
Start with the Contact Created trigger to send tailored messages right after a lead is added. For example, you can set up workflows where leads from Facebook ads receive one type of welcome message, while those who downloaded a guide from your website get another.
The Customer Replied trigger takes things further by analyzing responses to gauge interest. For instance, if a lead replies with phrases like “interested” or “confirm,” the system can automatically create an opportunity in your CRM, notify the sales team, and email the assigned user. This ensures no opportunity is missed and keeps the sales process moving efficiently.
Conditional logic adds an extra layer of intelligence. If a lead replies with questions, they can be routed to an FAQ sequence. If they show buying intent, the sales team gets notified immediately, and a follow-up call can be scheduled. Beyond nurturing leads, these automated workflows also streamline internal communication and task management.
Team Notifications and Task Assignments
Keeping teams informed and accountable is easier with task-based triggers. These workflows ensure tasks are assigned, tracked, and completed without anything slipping through the cracks.
The Task Added trigger activates whenever a new task is assigned to a contact. Filters can narrow down when the workflow kicks in - like specifying the assigned user or task keywords. For example, when a task is assigned to John Doe, the system can email John about the new assignment and update the task status to "Notified."
Task Reminder triggers are perfect for deadline management. These workflows send notifications before or after a task’s due date to ensure timely action.
"The Task Reminder trigger allows you to set up workflows that are activated based on reminders for tasks. This can be helpful for sending notifications to users to remind them of upcoming tasks or to take action if a task is overdue."
For instance, to remind a user three days before a task is due, you can configure the Task Reminder trigger with a "Before no. of days: 3" filter. Actions might include sending an email reminder and updating the task status to "Reminder Sent."
Internal Notifications keep everyone in the loop. For example, when a new lead comes in from Facebook, you can automatically notify the sales team with details like lead value and contact information.
"The Internal Notification Action enables to create and send notifications to specific users or teams within your organization. These notifications are triggered by specific events or conditions defined in workflows, ensuring that your team stays informed about important activities and tasks."
To make workflows easier to manage, use clear names like "Pre-Due Task Reminder" or "Internal Notification - SMS." This way, team members can quickly understand what each workflow does as your automation library expands.
Contact Segmentation and Customization
Smart segmentation is a game-changer for delivering personalized customer experiences. By organizing contacts based on their behavior and engagement patterns, you can tailor your communication to meet their specific needs.
The Contact Tag trigger is a powerful tool for segmentation. For instance, if someone downloads your pricing guide, you can tag them as "Price Conscious" and trigger a sequence focused on value and ROI.
Custom Values take personalization up a notch by storing unique data for each contact. These placeholders allow you to create highly tailored messages, emails, and even website content. Imagine a fitness club that tracks each member’s preferred workout type, membership level, and last visit date. This data can be used to send personalized emails, address specific needs, and dynamically display custom website content.
"By leveraging custom values, businesses can efficiently populate and personalize messages, emails, and website or funnel pages to enhance customer interactions and improve engagement."
HighLevel offers pre-built segments based on email engagement, making it simple to target contacts. For example, you can focus on those who interacted with your last five campaigns, re-engage cold leads, or nurture active prospects.
Behavioral data opens even more possibilities. Track website activity, email interactions, and purchase behavior to create highly targeted campaigns. You can segment users by factors like whether they’re new or returning visitors, their purchase history, or abandoned cart behavior.
Timing is everything when it comes to triggered communication. For example, send welcome emails right after sign-up to capture initial interest. On the other hand, wait an hour before sending cart abandonment reminders to give customers a chance to complete their purchase naturally.
sbb-itb-f031672
Troubleshooting and Optimization Tips
Keeping your automations running smoothly means spotting problems early and fine-tuning your workflows. A little effort upfront can save you from unnecessary downtime and headaches later.
Common Problems and How to Fix Them
Even small setup mistakes can throw your automation off track. Here are some common issues to watch out for:
- Duplicate tags: These can mess up your segmentation by creating inconsistent labels, leading to confusion.
- Inactive workflows: This is a sneaky one. You might spend hours fine-tuning your triggers, only to realize contacts aren’t entering because the workflow wasn’t published or got deactivated by accident. Always check that your workflows are marked as "Active" after making changes.
- Missing or misconfigured actions: If required fields in emails, SMS messages, or CRM updates are left blank, workflows might start but fail to complete their tasks. Essentially, the automation runs, but nothing meaningful happens.
- Overlapping workflows: If workflows overlap, they can trigger duplicate communications or conflicting actions. Mapping out all your workflows can help you spot and fix these conflicts before they affect your audience.
-
Email delays after form submissions: If emails take too long to send after a form is submitted, something's wrong. Mario Aldayuz, Head of Partnerships at HL Pro Tools, points out:
"This isn't normal behavior. The system should trigger emails almost instantly once the form is submitted. If it's lagging, there's likely a glitch or config hiccup that needs attention."
- Trigger logic issues: Overcomplicating workflows with too many conditional wait steps early on can create bottlenecks. Keep the first steps simple and save complex conditions for later in the process.
Once you’ve addressed these issues, the next step is to test your workflows thoroughly to make sure they’re functioning as intended.
Testing and Validating Workflow Logic
Testing is your safety net. It ensures your workflows do what they’re supposed to and prevents embarrassing errors when real contacts enter the system.
- Use the "Test Workflow" button: This feature lets you simulate the workflow with selected contacts to see the basic flow. However, it won’t give you the full picture of how the workflow performs under real-world conditions.
- Live testing with published workflows: Testing with live workflows and dedicated test contacts provides a more accurate view. Use test profiles from different time zones and demographics to catch timing or logic errors.
- Monitor enrollment history and execution logs: These tools show how contacts move through your workflows, highlighting where they might get stuck or which conditions they fail to meet. They also reveal how long each step takes to execute.
For accurate results, always save changes before testing and label workflow elements clearly for easier troubleshooting.
Once your workflows pass the testing phase, it’s time to think about scaling them to handle growth.
Scaling Automations for Growth
A well-optimized workflow isn’t just about working correctly - it’s about being ready to handle increasing demands as your business grows. Scalable workflows can manage higher volumes while staying efficient and effective.
- Break workflows into smaller components: Modular workflows are easier to manage and update as your needs evolve.
- Track performance metrics regularly: Keep an eye on metrics like task completion times and resource usage. This data helps you spot bottlenecks and make informed decisions about where improvements are needed.
- Invest in scalable technology: Cloud-based platforms that grow with your business save you from having to rebuild workflows later.
- Build flexibility into your workflows: Use custom fields and dynamic content to adapt to changing business needs without starting from scratch.
- Encourage a culture of improvement: Create an environment where team members feel comfortable suggesting updates or experimenting with new approaches. A "fail fast" mindset can lead to better solutions while avoiding costly mistakes.
- Sync workflows with customer touchpoints: Consistency matters - 60% of clients want seamless experiences across communication channels. Integrating workflows across platforms ensures this consistency.
- Review and refine regularly: What works for 100 contacts might not hold up for 1,000. Regular reviews help you catch inefficiencies before they snowball.
Using HL Max Resources
Boost your trigger-based automation game with the help of HL Max's tailored resources. Designed to complement the setup strategies we've discussed earlier, these tools and insights can help you fine-tune your workflows and scale them effectively.
Step-by-Step Tutorials and Guides
HL Max simplifies complex automation concepts with clear, actionable tutorials. These guides break down every aspect of trigger-based conditional logic into manageable steps, focusing on practical application rather than overwhelming you with theory.
The tutorials cover a wide range of topics - from setting up basic triggers to mastering advanced conditional branching. They also provide tips on using clear naming conventions and practical steps to avoid common mistakes. This is especially useful when juggling multiple workflows at once.
What makes these guides stand out is their real-world focus. Instead of generic examples, they walk you through scenarios that reflect actual marketing challenges. For instance, you’ll learn how to create lead nurturing sequences that adapt based on user engagement or set up team notifications that prioritize tasks based on lead value and urgency. There’s also an emphasis on splitting complex workflows into smaller, more manageable parts, making troubleshooting and updates much easier.
Expert Tips and Advice
HL Max goes beyond tutorials by offering tips from seasoned marketers to help you scale your automation efforts effectively. Their advice encourages starting with simple workflows and gradually introducing advanced features, reducing the risk of feeling overwhelmed by HighLevel's extensive toolset.
One standout strategy involves leveraging conditional logic for personalized engagement. For example, a company used conditional logic to tailor its lead nurturing workflow, resulting in a 20% increase in engagement by sending follow-up emails triggered by specific lead behaviors.
The advice also includes strategic planning techniques, such as mapping out workflows before building them in HighLevel and testing each step to catch potential issues early. This proactive approach, combined with recommendations for A/B testing and continuous monitoring, ensures your workflows stay effective over time.
HL Max also dives into advanced techniques, like using drip mode to control the pace of contact progression - ideal for managing large lists - and scheduling actions to make communication feel timely and relevant.
Automation expert Tony Robbins sums it up perfectly in HL Max's content:
"The real power of automation is not in replacing humans, but in empowering them to focus on more meaningful work."
This philosophy underpins HL Max's approach, emphasizing tools that free your team to focus on high-impact activities rather than just reducing manual tasks.
Regular Updates and Support
HighLevel evolves quickly, with new features rolling out almost every week. HL Max ensures you stay ahead by keeping its resources updated to reflect these changes. This means the strategies you learn are always aligned with the platform's latest capabilities.
The tutorials and guides are continuously refreshed to incorporate new HighLevel features, helping you maintain a competitive edge. Whether it's new trigger types, enhanced conditional logic, or improved integration options, HL Max provides updated guidance to help you make the most of these advancements.
Beyond keeping content current, HL Max is committed to helping you grow. As you become more comfortable with basic workflows, you'll find advanced resources to tackle complex scenarios, like multi-step conditional workflows. This ongoing support ensures your investment in mastering HighLevel workflows continues to deliver results as both the platform and your business evolve.
With HL Max, you’re not just learning; you’re building a foundation that grows alongside your expertise and the ever-expanding capabilities of HighLevel.
Conclusion
Trigger-based logic is changing the game for digital marketing agencies and growth-driven professionals using HighLevel. By mastering these workflows, you can save time, streamline operations, and achieve measurable results.
Key Benefits
Studies show that trigger-based workflows significantly improve efficiency by simplifying processes. They reduce manual errors, lower costs, and enhance customer experiences with faster, more personalized interactions. This approach offers a clear path to scalable growth.
Getting Started with Implementation
To tap into these benefits, start by exploring workflow templates and tailoring them to your business needs. Define triggers clearly and apply filters to determine exactly when workflows should activate. Use "If/Else" conditions to create customized paths, ensuring a more personalized customer journey.
Before fully rolling out, test your workflows with fresh contacts and live scenarios to verify their accuracy. Keep an eye on performance metrics using HighLevel's Stats View, which helps you spot areas for improvement and measure communication success.
For ongoing support, HL Max is a valuable resource. It provides step-by-step tutorials, expert advice, and regular updates to help you adapt to HighLevel's evolving features. This ensures your automation strategies stay effective as both your business and the platform grow.
Begin with a single workflow - automate one repetitive task, test it thoroughly, and build from there. As you refine your approach, the advantages of trigger-based logic will become clear, opening the door to more advanced automations that can drive meaningful business growth.
FAQs
How do I select and set up the best triggers for my HighLevel workflows?
To set up the right triggers in your HighLevel workflows, start by pinpointing the event or condition that will kick off your automation. This could be anything from a form submission to a link click or even the assignment of a tag. Once you’ve identified the trigger, head over to the Trigger section in HighLevel, select the trigger type that fits your needs, and fine-tune the filters to match your specific business goals.
For instance, you can set up triggers to organize contacts based on their actions, like watching a video or clicking a particular link. This approach helps you align workflows with customer behavior, streamlining your marketing and sales processes. Setting up triggers thoughtfully is a key step toward automating tasks efficiently and driving better outcomes.
How can I use conditional logic in HighLevel workflows to create more personalized customer experiences?
To craft individualized customer experiences within HighLevel workflows, leverage conditional logic tools like 'If/Else' rules. These allow workflows to adjust dynamically based on customer behaviors or characteristics. For instance, you can send personalized messages, exclusive offers, or tailored follow-ups depending on whether a customer opens an email, clicks on a link, or submits a form.
Conditional logic can also elevate forms and surveys by adding flexibility. You can show or hide specific fields, redirect users to different pages, or filter out leads that don't meet your criteria. These techniques make your interactions more relevant, enhancing engagement and driving higher conversion rates.
How do I troubleshoot and optimize my HighLevel workflows for better performance?
To keep your HighLevel workflows running smoothly, start by reviewing key settings like contact time zones. This ensures your messages reach the right people at the right time. Taking the time to thoroughly test your automation can also help you catch and fix potential issues before they affect performance.
It’s important to understand trigger-based logic - how triggers and actions work together. This understanding is crucial for troubleshooting workflows that don’t behave as expected. Regularly check your trigger configurations, test various scenarios, and make adjustments to fine-tune how everything operates.
For continuous improvement, revisit your workflows regularly. Look for ways to simplify processes, eliminate unnecessary steps, and improve overall efficiency. Even small tweaks can make a noticeable difference in performance over time.